Step-by-Step Guide to Installing 3M Precut Window Tint
Have you been hesitant to try DIY window tinting because you're worried about bubbles, creases, or having to trim film with a razor blade near your expensive automotive glass? Those concerns are completely valid when working with traditional universal tint rolls, but they become non-issues when you choose the right approach.
3M precut window tint installation transforms what used to be a challenging, error-prone process into a manageable weekend project that delivers professional-quality results. The combination of precision-cut pieces and pre-shrunk film eliminates the most difficult aspects of traditional tinting, making success achievable even for first-time installers.
Let's walk through exactly how to install 3M precut window tint and achieve the flawless finish you're looking for.
Why Pre-Cut Makes All the Difference
The Traditional Challenge
Standard DIY window tinting requires you to measure, cut, and shape film while working around your vehicle's unique curves and angles. This process demands experience, steady hands, and often results in wasted material and frustrating do-overs. Even small mistakes can mean starting over with expensive film.
The Trueline Advantage
Trueline Automotive's 3M window tint installation kits eliminate these challenges through two key innovations:
Summa Precision Cutting: Every piece is cut to your vehicle's exact specifications using computer-controlled precision. No measuring, no cutting, no guesswork.
Pre-Shrunk Film: Each piece arrives already formed to match your window's contours. This critical step typically requires professional heat-forming equipment that most DIYers don't have access to.
Essential Tools and Materials
Before starting your precut tint installation, gather these items:
Included in Your Kit:
- Precision-cut 3M window film pieces
- Detailed installation instructions
- Vehicle-specific placement guide
Additional Tools Needed:
- Spray bottle for slip solution (1 tsp baby shampoo per quart of water)
- High-quality squeegee or application tool
- Lint-free cloth or paper towels
- Heat gun or hair dryer (for minor adjustments)
- Razor blade (for final trimming if needed)
Step-by-Step Installation Process
Step 1: Prepare Your Workspace
Choose a clean, dust-free environment away from direct sunlight and wind. A garage or covered area works best. Clean your vehicle's windows thoroughly, removing all dirt, residue, and previous tint if applicable.
Pro Tip: The cleaner your windows, the better your final result will be. Take extra time with this step.
Step 2: Identify Your Pieces
Your 3M tint install guide includes a diagram showing which piece goes on which window. Lay out all pieces and match them to your vehicle before beginning application. This prevents confusion during installation.
Step 3: Create Your Slip Solution
Mix one teaspoon of baby shampoo (no conditioners or additives) with one quart of clean water. This solution allows you to reposition the film during installation without it immediately adhering.
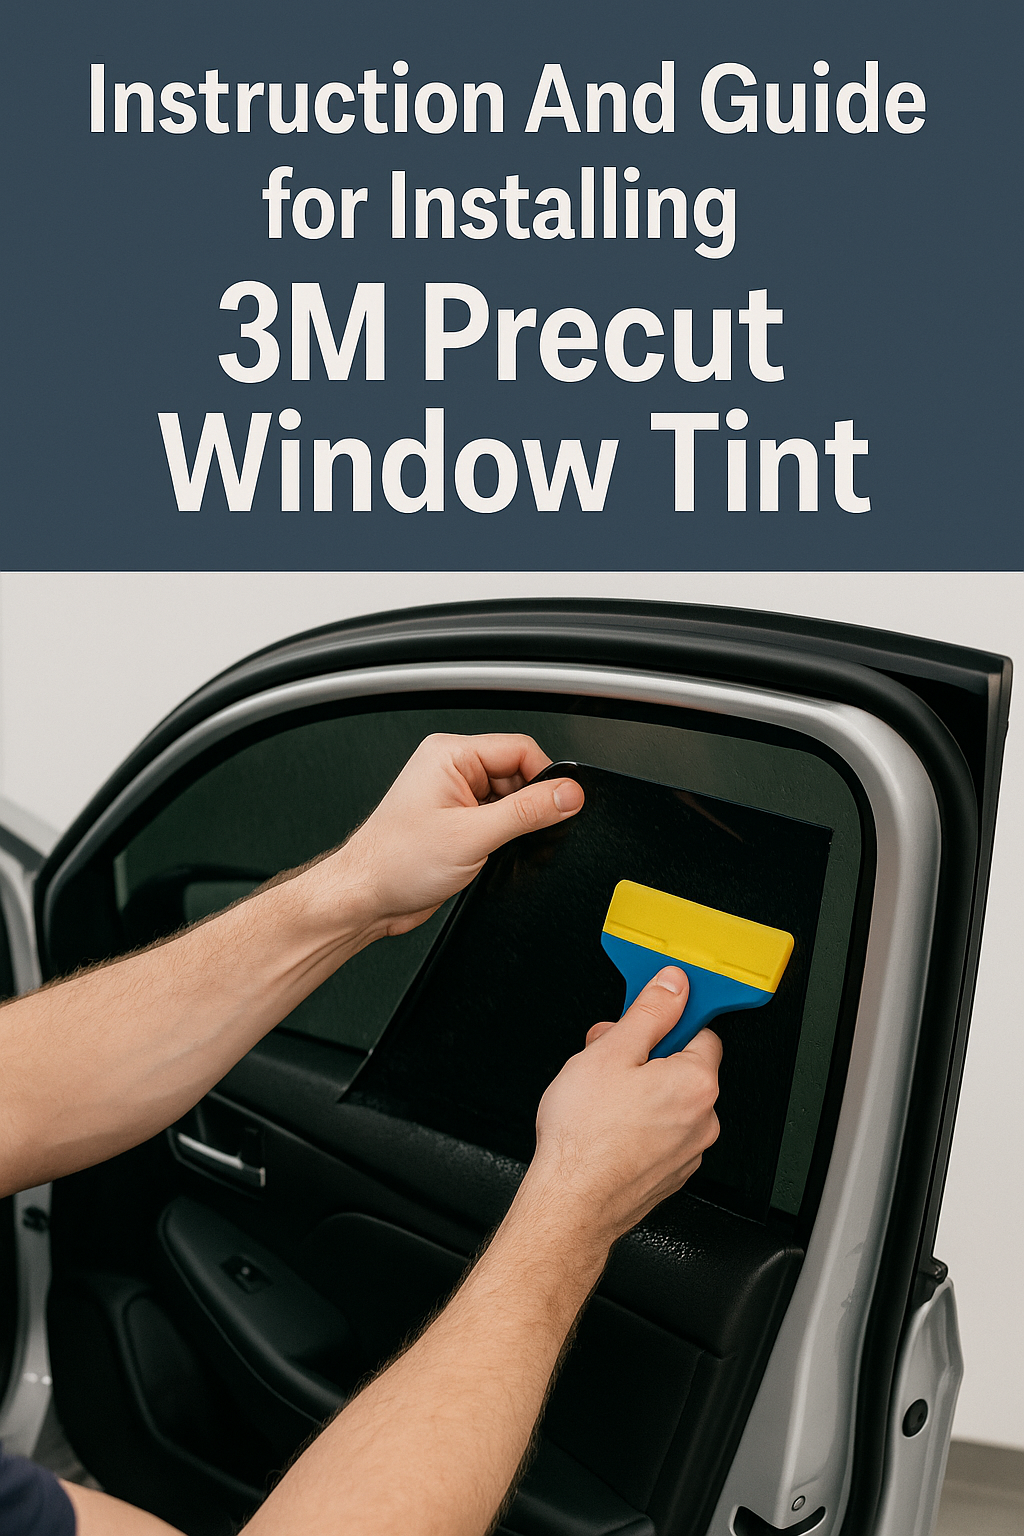
Step 4: Apply the Film
For Each Window:
- Spray the Window: Thoroughly wet the glass surface with slip solution
- Remove the Liner: Carefully peel away the protective backing from your tint piece
- Spray the Film: Immediately spray the adhesive side of the film with slip solution
- Position the Film: Place the film on the window, using the slip solution to slide it into perfect position
- Initial Squeegee: Gently squeegee from center outward to remove large air bubbles
- Final Application: Work systematically to remove all solution and air bubbles
Step 5: Finishing Touches
The pre-shrunk nature of Trueline's film means minimal finishing work is required. Use your heat gun sparingly to address any minor imperfections, and trim excess material if necessary (though precision cutting minimizes this need).
Common Mistakes to Avoid
Rushing the Process
Take your time, especially during your first installation. The slip solution gives you several minutes to perfect positioning before the adhesive fully activates.
Using Too Much Heat
Pre-shrunk film requires minimal heat application. Excessive heat can damage the film or create unnecessary stress points.
Inadequate Cleaning
Any debris trapped under the film will be visible and potentially cause bubbles or lifting. Clean thoroughly before and during installation.
Why Pre-Shrunk Film Changes Everything
Traditional window tint tutorial guides spend considerable time explaining how to shrink film around curved glass – a process that requires skill, experience, and specialized tools. Trueline's pre-shrunk 3M film eliminates this challenge entirely.
Instead of wrestling with film that doesn't want to conform to your window's shape, you're working with pieces that already match perfectly. This means less waste, less trimming, and a faster install that delivers professional-quality results.
Achieving Professional Results at Home
The combination of Summa precision cutting and pre-shrunk 3M film means you can achieve results that rival professional installations. The exact fit eliminates the need for risky trimming near glass edges, while the pre-formed shape ensures smooth application around curves and corners.
Most first-time installers complete their entire vehicle in 2-3 hours – half the time typically required with universal rolls. The precision and preparation built into every Trueline kit translates directly into installation confidence and superior results.
Your Next Steps to Perfect Tint
Ready to experience the difference that precision cutting and pre-shrunk film make? View our comprehensive installation video to see the process in action, or shop for your vehicle-specific 3M kit to get started with your installation.
Questions about technique or which tools work best for your specific situation? Contact our installation support team for personalized guidance throughout your project.
Remember: the key to successful DIY tinting isn't just technique – it's starting with the right materials. Choose precision, choose pre-shrunk, choose success.